5 free email marketing tools to boost performance


Copywriting Tools

The Hemingway App

If you sometimes get bogged down writing copy and wonder if you are getting too technical or just being long winded getting to the point simply plugin your copy and the app with tell you when you are using too many words or getting too technical

If you are talking about your own product or service, it’s easy to lose track and because you know what you are talking about you can make the mistake that your reader also knows all the terminology when they most likely don’t so a great tool to have in the locker

Simply copy your text and paste it in the app

Help and support

 Community

This is a great free community where you can find some really switched on folk who know the inside and out of all things email marketing

If you have any issue or need answers simply post your question and get an amazing service for free

Email HTML Preview

Litmus Puts Mail

Great tool to check out what your email will look like in different email clients, simply add up to 10 URLs and see a fully functioning preview of your email

Need to know what your email will look like in the inbox? Litmus PutsMail lets you enter your HTML, subject line and desired recipient addresses (up to 10) to see a fully functional preview of your campaigns.

Tracking

Raven URL Builder for Google Analytics

Tracking can be very difficult to master and even more difficult to set up if you are not tech savvy

Whilst Google anyliics has slowly become more user friendly it is still vitally important to know exactly where the traffic and sales came from

Knowing the exact source of traffic helps you focus your marketing efforts on what’s working and helps you improve what’s not working too well

The URL Builder makes it super easy to tag the links you use in your email campaigns with custom variables to see how much traffic each is driving compared with other channels promoting the same links

Social sharing

 RyanSolutions

Ryan solutions is actually a hotel marketing tool, but they have a fantastic link building tool for social sharing across multiple networks

We all know the importance of social sharing and this tool allows us to add a link in our emails to share the content with multiple sites with pre-populated text

You could send out a weekly or monthly newsletter to share or a round up of the last 2 weeks emails which is can get loads of additional clicks to your content and all for free with no additional work and if you make sure you use the raven URL builder you can see exactly where the extra traffic came from

I hope you take a minute to check these tools out in more detail, they will help you increase engagement and boost your conversions but remember the sigh of a professional email marketer is to test test and then test so good luck

A marketers guide to blacklists


What is a black list

Domain Name System Blacklists, also known as DNSBL's or DNS Blacklists, are spam blocking lists that allow a website administrator to block messages from specific systems that have a history of sending spam.

 As their name implies, the lists are based on the Internet's Domain Name System, which converts complicated, numerical IP address such as 140.239.191.10 into domain names like example.net, making the lists much easier to read, use, and search.

If the maintainer of a DNS Blacklist has in the past received spam of any kind from a specific domain name, that server would be "blacklisted" and all messages sent from it would be either flagged or rejected from all sites that use that specific list.

Not all Blacklists are equal

With over 300 publicly available blacklists, it’s no wonder good senders keep close eyes on their IP and domain activity. Public blacklists are created by large, trustworthy companies, as well as small, independent networks. Since anyone can create a blacklist, they don’t all have the same impact on deliverability. Mailbox providers and filtering companies do not leverage inbox placement on every blacklist. They typically combine data from various public blacklists, as well as data from their own networks, to determine your credibility as a sender.

Email marketers often associate blocking with being blacklisted. It’s important to note that blacklist providers are not the ones blocking your mail—it’s the mailbox provider leveraging your blacklist status that blocks your mail.

 If a blacklist resulted in a block, focus on the potential causes for the listing. Blacklisting is most often caused by poor list quality and end-user complaints.

There are two types of blacklists: IP address-based and domain-based.

IP-Based: Real-time Black Lists (RBL) and Domain Name Server Black Lists (DNSBL) are lists of IP addresses whose spam status changes in real-time.

Mailbox providers check these blacklists to see if the sending server is managed by a sender who allows others to connect and send from their system (open-relays).

They also check for known spammers or mailbox providers that allow legitimate spammers to use their infrastructure.

Any good sender’s reaction to a blacklisting is to request removal immediately. Note that this can often harm more than help. If a sender continuously requests removal without making the necessary changes, they run the risk of having all further requests automatically rejected.

Blacklist Removal Process

Determine why you are listed

Each blacklist has their own listing criteria that may include technical listings, policy listings, and evidence-based listings.

Technical listings are those that occur mostly from mail server configuration issues such as missing or incorrect reverse DNS records, missing on incorrect banner greetings, and mail servers operating in IP address space that an ISP has specified that mail servers should not be operating in.

 Policy listings are those based on an operator that does not wish to receive email from certain countries, or ISPs, or has a history of not honouring unsubscribe requests.

 Evidence based listings are those where the operator has received direct (or indirect) evidence that an IP address has been involved in sending unsolicited emails.

You'll need to visit the blacklist's website and perform a lookup on the specific IP address. Most blacklists will provide general listing reasons but will not provide access to the email addresses the spam was sent to.

Resolve the underlying issue(s)

Once you have determined why an IP address has been listed you can begin your internal process of resolve the issue.

 This is a good time to confirm that your network, mail server, and computers are properly configured. Common resolutions include: fixing forward and reverse DNS records, STMP banners, scanning all machines on the network for viruses, patching operating systems, configuring routers more securely, and enforcing strong passwords.

Follow the blacklist removal process

After you have fixed the issues you'll need to go back to the blacklist's website and follow their specific removal process.

Self-Service Removal

Some blacklists have a self-service removal feature. These generally allow for near immediate removal from the blacklist. Be sure that you've resolved the issue before doing this. When an IP address gets listed again after removal the process can become more difficult.

Time Based Removal

Most blacklists do not offer self-service or manual removal. They have a process that runs that will automatically remove low-level listings within a week or two. If the IP address has been involved in sending spam multiple times or in high volumes this process may take longer.

Things to keep in mind when contacting a blacklist operator

Blacklists are legal in most countries.

There is no point in threatening legal action against blacklists. Courts have ruled numerous times that they are legal. The blacklist is not preventing you from sending mail. The operator of the receiving mail server has made a person choice to consult a third party before accepting email from them. When all else fails contact the receiver's mail administrator over the phone to attempt to resolve the deliverability issue.

Don't lie.

Don't tell the operator you've resolved the problem when you haven't. If you lie that you've resolved the issue and it happens again they will likely not talk to you anymore.

Keep it polite and professional.

When you are having difficulty in removing a listing let them know what you are trying to do to resolve the issue. The more professional you are with them the more they'll be willing to help you resolve the issue. They are trying to stop people from receiving spam, not trying to keep you from legitimate non-spam correspondence.

To run a check on all of the major blacklists click the link below, it is a good idea to save this link and run a quick check every couple of weeks to ensure you keep your domain and IP in tip top order

https://mxtoolbox.com/blacklists.aspx

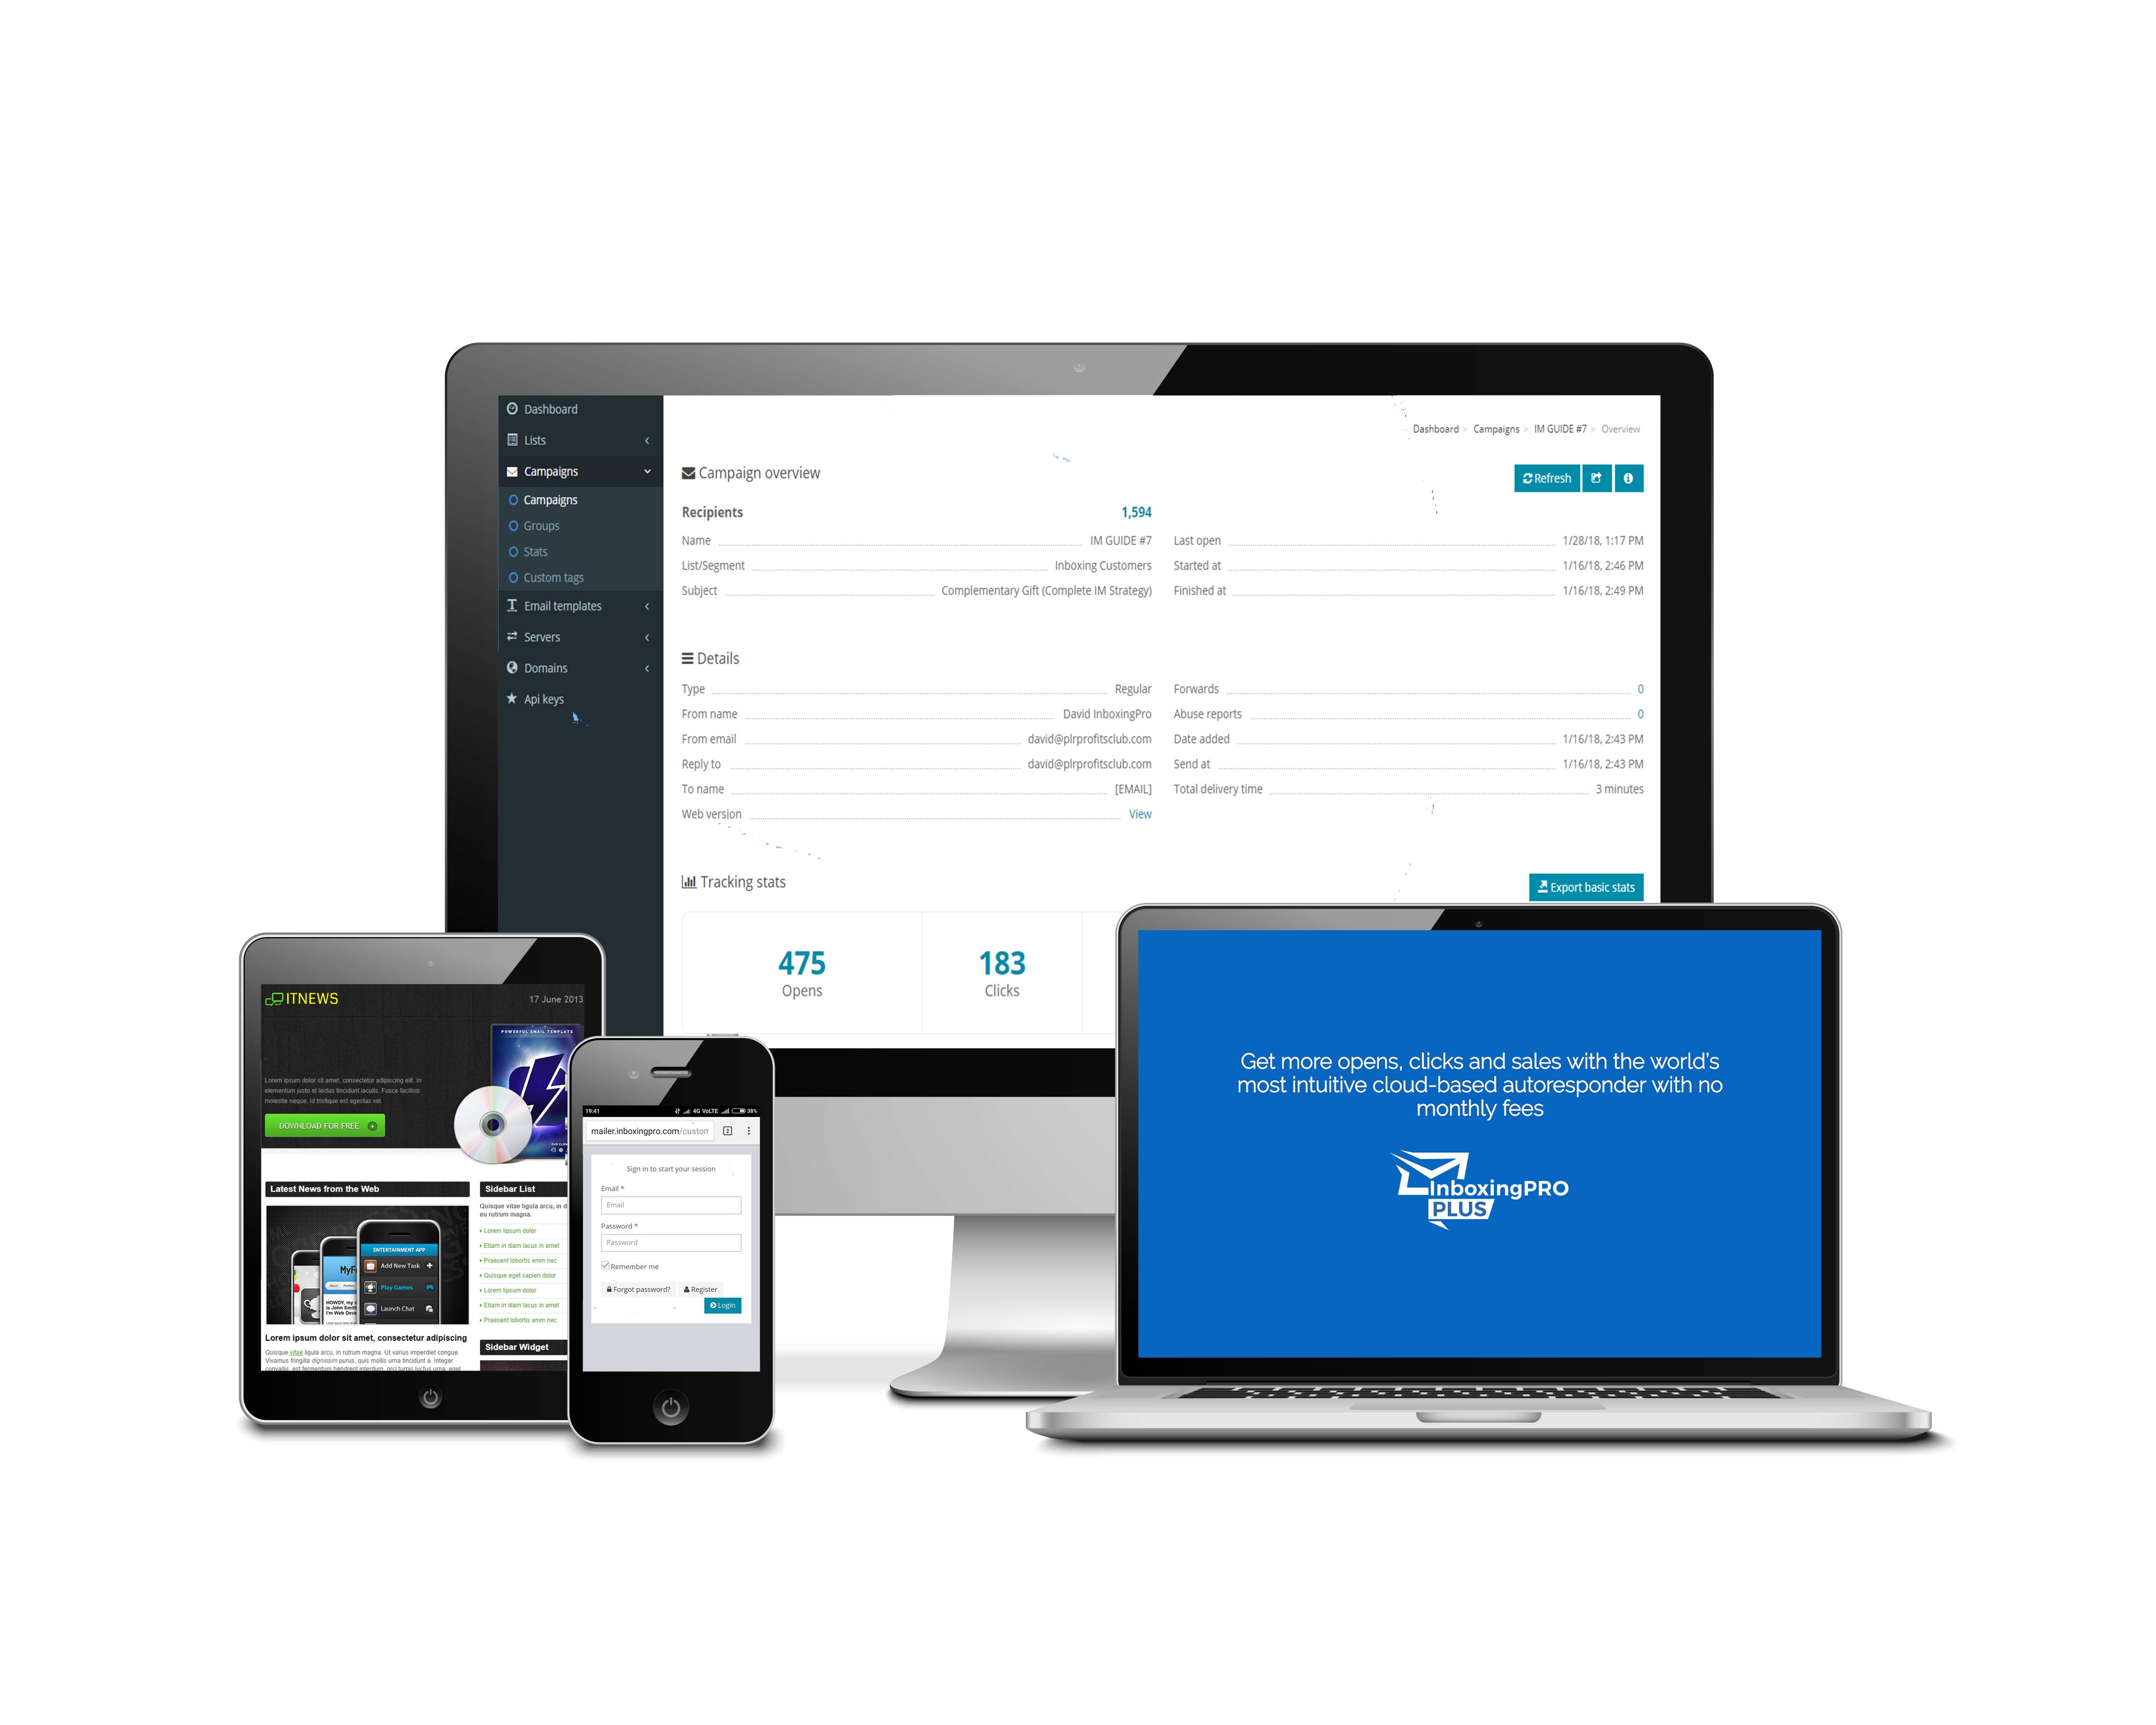
InboxingPro provides a complete email marketing solution and is the only cloud-based autoresponder to pass the Google test and send email campaigns as a trusted sender

How to Guarantee emails are delivered to the Inbox

The quickest and easiest way to get your emails delivered to the inbox is to ask your subscribers to whitelist your email

You can ask your subscribers to do this straight away or wait until you have provided 3-4 emails of useful, valuable content which is do how I prefer to do it

This is so simple yet massively effective.  We have provided details below for all the major ISPs whitelist requirements and if you see a significant amount of your subscribers are using services other than Gmail it can be a great way to boost your open rates providing details of the service providers whitelist requirements

We've listed the services below in alphabetical order to make them easier to find but start with Gmail because they are the major player


Here’s what to do:

To make sure you don’t miss any updates or announcements, just add [your brand here] newsletter to your Primary Gmail tab:
  • Drag‘n’drop this message from the Promotions tab to the Primary tab.
  • A question will pop up asking if you want to do the same for all messages from [your from address here].
  • Answer Yes to confirm.
Thats it, you will never miss any important updates or news because all of our emails will now be delivered to the Primary tab.


AOL WebMail

Open the email.

Click on the sender's name and email address.

Click "Add to Address Book" in the window that appears.

Enter any additional information.

Click Save.

Thanks for completing the steps.

Remember to reply to this email confirming that you've done so.

AOL (version 9.0 or higher)

Copy the "from" address from the latest email (or you can copy the addresses listed above).

In the pop-up box, select Add.

Paste the copied address/type the address required in the Other email field.

Make the newly added address the "Primary email address" by checking the checkbox.

Select Save.

Thanks for completing the steps.

Remember to reply to this email confirming that you've done so.

AOL 8.0

Select Mail in the Menu on the top of the screen.

Select Mail Controls.

The Mail Control Screen would be displayed. Select Next.

Select Customize Mail Controls for this Screen Name and click Next.

You can select "Allow email from all AOL members, email addresses and domains" (allows all emails).

Select Next until the Save button shows up at the bottom.

Select Save.

Thanks for completing the steps.

Remember to reply to this email confirming that you've done so.
AOL 7.0

Select Mail in the Menu on the top of the screen.

Select Mail Controls.

The Mail Control Screen would be displayed. Select Next.

Select Customize Mail Controls for this Screen Name and click Next.

In the exclusion and inclusion parameters, include the domain xxxxx.com (replace the xxxxx with the domain name).

Thanks for completing the steps.

Remember to reply to this email confirming that you've done so.
 AT&T Web Email

Open your mailbox.

Select Options on the top right hand side > Mail Options > Filters > Add Filter.

Select Filters.

Click "Add Filter".

In the top row, labeled From Header, select contains from the pull down menu. Enter the address in the text box next to the pull down menu.

Example: You can either give a specific email address or use @xxxxx.com or *xxxxx.com to whitelist the domain (replace the xxxxx with the domain name).

Move down to the bottom where there is the option Move the message to. Select Inbox from the drop-down menu.

Select the Add Filter button once again.

Thanks for completing the steps.

Remember to reply to this email confirming that you've done so.

 Comcast SmartZone

Click Address Book.

Click "New" and choose "New Contact".

Add the email address and any additional information.

Click Save.

Thanks for completing the steps.

Remember to reply to this email confirming that you've done so.

Cox.net Email

Go to WebMail Inbox window.

Click "Preferences".

Under General Email Preferences, click Blocked Senders.

Type in the sender or domain you wish to allow in the Exceptions List.

Click Add.

Click Save.

Thanks for completing the steps.

Remember to reply to this email confirming that you've done so.

 EarthLink

Open the Address Book.

Click Add.

Enter your contact's domain.

Click Save.

Thanks for completing the steps.

Remember to reply to this email confirming that you've done so.

 Entourage

Open the email.

Right-click the sender's email address.

Select "Add to Address Book" in the short-cut menu.

Verify the sender's contact details.

Click Save.

Thanks for completing the steps.

Remember to reply to this email confirming that you've done so.

Hotmail

(See Outlook.com Below)

MacMail

Open the email.

Type the sender's email in the Add Entry field on the Allow List.

Verify the sender's contact details.

Click Save.

Thanks for completing the steps.

Remember to reply to this email confirming that you've done so.

McAfee

Click the Allow/Deny menu option in the Control Console

Enter the recipient's email address in the Add Entrys field in the Allow List.

You can also add a contact's domain (e.g. whatever comes after the @ symbol) to allow anyone from that company.

Click Save.

Thanks for completing the steps.

Remember to reply to this email confirming that you've done so.

 MSN

Select Settings: Email | Junk e-mail (bottom left, just above Calendar).

From the E-mail settings screen, select Junk E-mail Guard.

Select Safe List.

Enter the email address.
Example: You can either enter a specific email address or use *xxxxx.com or @xxxxx.com to whitelist the domain (replace the xxxxx with the domain name).

Select Add.

Thanks for completing the steps.

Remember to reply to this email confirming that you've done so.

 Mozilla Thunderbird

Check if your contact's email is in your Junk folder, right-click on the email and choose "Mark As Not Junk".

Click Address Book.

Make sure that the Personal Address Book is highlighted.

Click New Card, the New Card window will display.

Under the Contact tab, copy your contact's "From" address and paste it into the Email dialog box.

Click OK.

Thanks for completing the steps.

Remember to reply to this email confirming that you've done so.

 Norton AntiSpam

AntiSpam works along with Outlook, Outlook Express, Netscape and Yahoo, MSN/Hotmail to block spam mails before it reaches your inbox. To make sure emails reach you, you can add us to your Personal Friends list or Global Friends list. Here is how you can do that:


Start Norton AntiSpam, select Status & Settings tab.

Select AntiSpam.

Select Configure button - right hand side bottom of the screen.

Select Allowed List tab - second tab on the list of tabs.

Select Add.

Enter email address in the Email address box.

Select OK.

Thanks for completing the steps.

Remember to reply to this email confirming that you've done so.

 Outlook

2003, 2007 and Express

Without an example email address in your inbox:

Select Actions from the toolbar at the top of the screen.

Select Junk E-mail.

Select Junk E-mail Options...

Click the Safe Sender tab.

Click Add.

Type in the email address you wish to add to your safe sender list.

Click OK.

Thanks for completing the steps.

Remember to reply to this email confirming that you've done so.

With an example email in your inbox:

Open the email.

In the Toolbar options at the top, click the Safe Lists drop-down.
Note: This is located in the "Junk Email" section

Select "Add sender to Address book".

Click OK.

Thanks for completing the steps.

Remember to reply to this email confirming that you've done so.

To white list an entire domain:

Open the email.

In the Toolbar options at the top, click the Safe Lists drop-down.  
Note: This is located in the "Junk Email" section

Select "Add Sender's Domain (@example.com) to Safe Senders List.

Click OK.

Thanks for completing the steps.

Remember to reply to this email confirming that you've done so.

2010

In Outlook, go to the Home tab.

Click the Junk button.

Choose "Junk E-Mail Options" from the drop-down list.

Go to the Safe Senders tab.

Type in either the email address or the domain name you wish to add.

Click OK.

Thanks for completing the steps.

Remember to reply to this email confirming that you've done so.

Express

In Outlook, go to the Tools menu.

Select "Address Book".

Click New and select New Contact from the drop-down menu.

Type in email address and include any details you want.

Click OK.

Thanks for completing the steps.

Remember to reply to this email confirming that you've done so.

 Outlook.com (Formerly Hotmail)

Open your Outlook mailbox.

Select Options from the top right (next to the question mark).

Select More options > Safe and blocked senders (under Preventing junk email) > Safe senders.

In the space provided, enter the address.
Example: You can either enter a specific email address or use *xxxxx.com or @xxxxx.com to whitelist the domain (replace the xxxxx with the domain name).

Select Add to list.

Ensure the safe mailing lists box has the address you entered, and select OK.

Thanks for completing the steps.

Remember to reply to this email confirming that you've done so.

 Road Runner

Open your Road Runner mailbox.

Open your Junk Mail folder.

Select the email that includes the e-mail address you would like to add as a safe sender.

Click "Mark as Not Spam".

Thanks for completing the steps.

Remember to reply to this email confirming that you've done so.

 Spam Assassin

Follow the instructions to manually white list here.

Thanks for completing the steps.

Remember to reply to this email confirming that you've done so.

 Verizon

Open your Inbox.

Click Options.

Click Block Senders.

Locate the “Safe List”.

Enter your contact's domain.

Click OK.

Thanks for completing the steps.

Remember to reply to this email confirming that you've done so.

 Windstream

Click the Settings tab.

Click Messages.

Click Allow and Block Messages.

Select "Advanced Block Senders".

In the Allowed Senders and Domains area type the senders and domains you want to allow. 

Click OK.

Thanks for completing the steps.

Remember to reply to this email confirming that you've done so.

Yahoo

In Yahoo Mail, your contacts list is your whitelist. To add the From Address to your Yahoo Contacts:

Open your Yahoo mailbox.

Click the address book icon under the Yahoo! Mail logo. When you roll your mouse over it, it will say Contacts.

Click "New Contact".

Fill in the fields of your Contact.

Click Save.

Thanks for completing the steps.

Remember to reply to this email confirming that you've done so.